Product Photography
Photographs are so important to my business. I sell most of my work online, and we all know the old ‘a picture speaks a thousand words’ turn of phrase, because it’s true. It used to be that one had 3 seconds to impress a potential customer online, before they move on. Now, in the age of endless scrolling, it is 0.55 seconds. That is madness.
I can certainly see the value of investing in good product photography from an experienced photographer, and, if I had a different business, I would certainly be investing! The trouble is that every one of my sculptures is unique, and so those photographs would go out of date very quickly. Professional photography would be expensive to catalogue all of my sculptures (and it should be expensive- these people are highly skilled magicians!) So it wouldn’t be suitable for my entire collection. But what about a select few of my best pieces? Well, I endeavour to improve my sculptures and designs as I grow as an artist year by year, and I’ve already known the irritation of still having a few lingering postcards I liked at the time, but now can see the mistakes all over! I’ve never reached a time where I can’t see improvement, and so I’ve always held off on booking studio time with a photographer.
Also, and for my more expensive items especially, I think it is so important to show the piece in different places; with different light sources and perhaps both a light and dark background. My customer needs to know how it might look in their own home. And so, without any actual training, I endeavour to take my photographs myself. I do enjoy a challenge!
So, how to go about taking a nice photo...what does that mean? After nearly twenty years of running my business, I don’t know the answer to that. I try out different things. I used to take photographs on my trusty Nikon, who I loved dearly (even though, truth be told, I still don’t know what all his buttons actually do). However, these days, my phone is better quality. I currently have a Samsung something-or-other and I chose him for his camera. He’s the best camera phone I could reasonably afford at the time, which is how I always choose my phones. I’ve watched a lot of webinars and YouTube videos about the benefits of natural versus artificial light, and I take both. The best place in the house for natural light is my grey/blue door (to a big old storage cupboard that used to store a water tank or a boiler), which is in my work room. It is also mightily convenient to stand up from my desk, reach over and hang my new piece and snap a photo immediately. You’d be surprised how many pieces I’ve sent out to galleries and exhibitions without having had time to take a photo, only for that piece to then sell and me have no record of its existence. So convenience is of huge importance. My work room is a south facing room and gets excellent sunshine all year round. In the Summer I have to avoid early afternoon, or it will bleach the colours in my photographs. However, the background is dark, the rest of the room is electric blue, and there’s not much space for lighting equipment, so I venture downstairs for more floor space for other shots.
I do not live in an Instagramable home. I love a moody dark blue/teal/green on my wall and a lot of my furniture is untreated pine- not because I love the 1970s caravan life, but because it is safe for my rescue parrots to chew on. I don’t encourage them to chew my furniture of course, but I’d rather be reassured that if one mischievous little rascal is wreaking havoc outside my notice, he will come to no physical harm. There are all sorts of things inside varnish and lacquers, especially in old furniture, which is a shame because lots of them are very handsome.
I have a couple of nice furniture pieces where the parrots seldom tread, which are useful staging. And then I have some plywood boards that I decorate every few years with some vaguely neutral or foliage wallpaper. I bought some photography lights online, with those big silver umbrellas and the biggest bulbs I’ve ever held in my hands. And then I point and shoot. I don’t try anything fancy. I don’t have the skills for that. And I have the great benefit of making sculptures that are neither transparent or reflective. I do not envy glass artists! My goodness.
My biggest issue is white backgrounds, which is why I avoid them. But I’ve set myself a challenge this year, because white backgrounds probably show off most of my colourful or darkest sculptures the best. I can see that with my naked eye. The trouble is capturing that in camera, where shadows appear from nowhere in muggy grey and brown hues. My two bulb lights, with those ridiculous reflective umbrellas, can be placed either side to combat pesky shadows. But then comes the problem of banding- that striped shadow effect that happens sometimes. It has something to do with how cameras capture lights flickering (faster than your eyes perceive it). You can combat this by adjusting the shutter speed of your camera. Apparently. And so begins my next hurdle! Which means messing around with the ‘Pro’ settings on my phone camera. I’ve found that reducing my shutter speed to 1/60 massively improves the banding issue. But it is still hard to see what you’re looking at. I spend half the time second guessing whether I can actually see faint stripes, or if I’m imagining them, which is not the most fun I’ve ever had, nor the most sane I’ve ever felt!
And so I’ve recently purchased a non-flickering LED light, which I’ve obviously pinned all my hopes on to solve all my problems. (Ugh. Photos are so much easier on a nice grey background, where the banding is seemingly absorbed into the grey hues.) Now it has arrived, I can confirm it is bright enough to land a plane. It makes me laugh when I switch it on. I also recently watched a webinar with The Design Trust which hailed the greatness of white foam boards (the kind you’ll find mount framing a picture on your wall), as they are excellent at diffusing and bouncing the light. And so I diligently ordered some of those too. And with my new Godox pal, there is hopefully no need to faff around with shutter speeds and ISO. I’m hoping this will make achieving an acceptable standard of photograph simpler. I am determined to improve. I work so hard crafting my sculptures, it only seems fair I learn how to capture them as best I can.
I do not enjoy photo editing. Mostly, all I do is resize my images for web, because they are too big to load otherwise. I do occasionally brighten an image using GIMP (GNU Image Manipulation Program- it’s essentially Photoshop, but free) But only then if the photo has peach flowers, or is a bullfinch, because for some reason bullfinch-belly-peach comes out more orange than it truly is, so it needs a touch of colour correction. I don’t do anything else, because the purist in me considers it cheating. And I must admit I find learning about photo editing exceedingly dull. I’m only genuinely interested in technology when I have buttons to press and dials to turn.
Much like my sculptures, I can see improvement every time I produce a new set of photographs. My photographs are not perfect, and some things don’t work out at all as I’d like, but I’m getting better. And I’m enjoying the journey as I go.

Paper art owl surrounded by paper flowers

Paper craft wreath featuring a small bird with red, white, and brown plumage, surrounded by pink flowers and green leaves on a twisted vine frame.
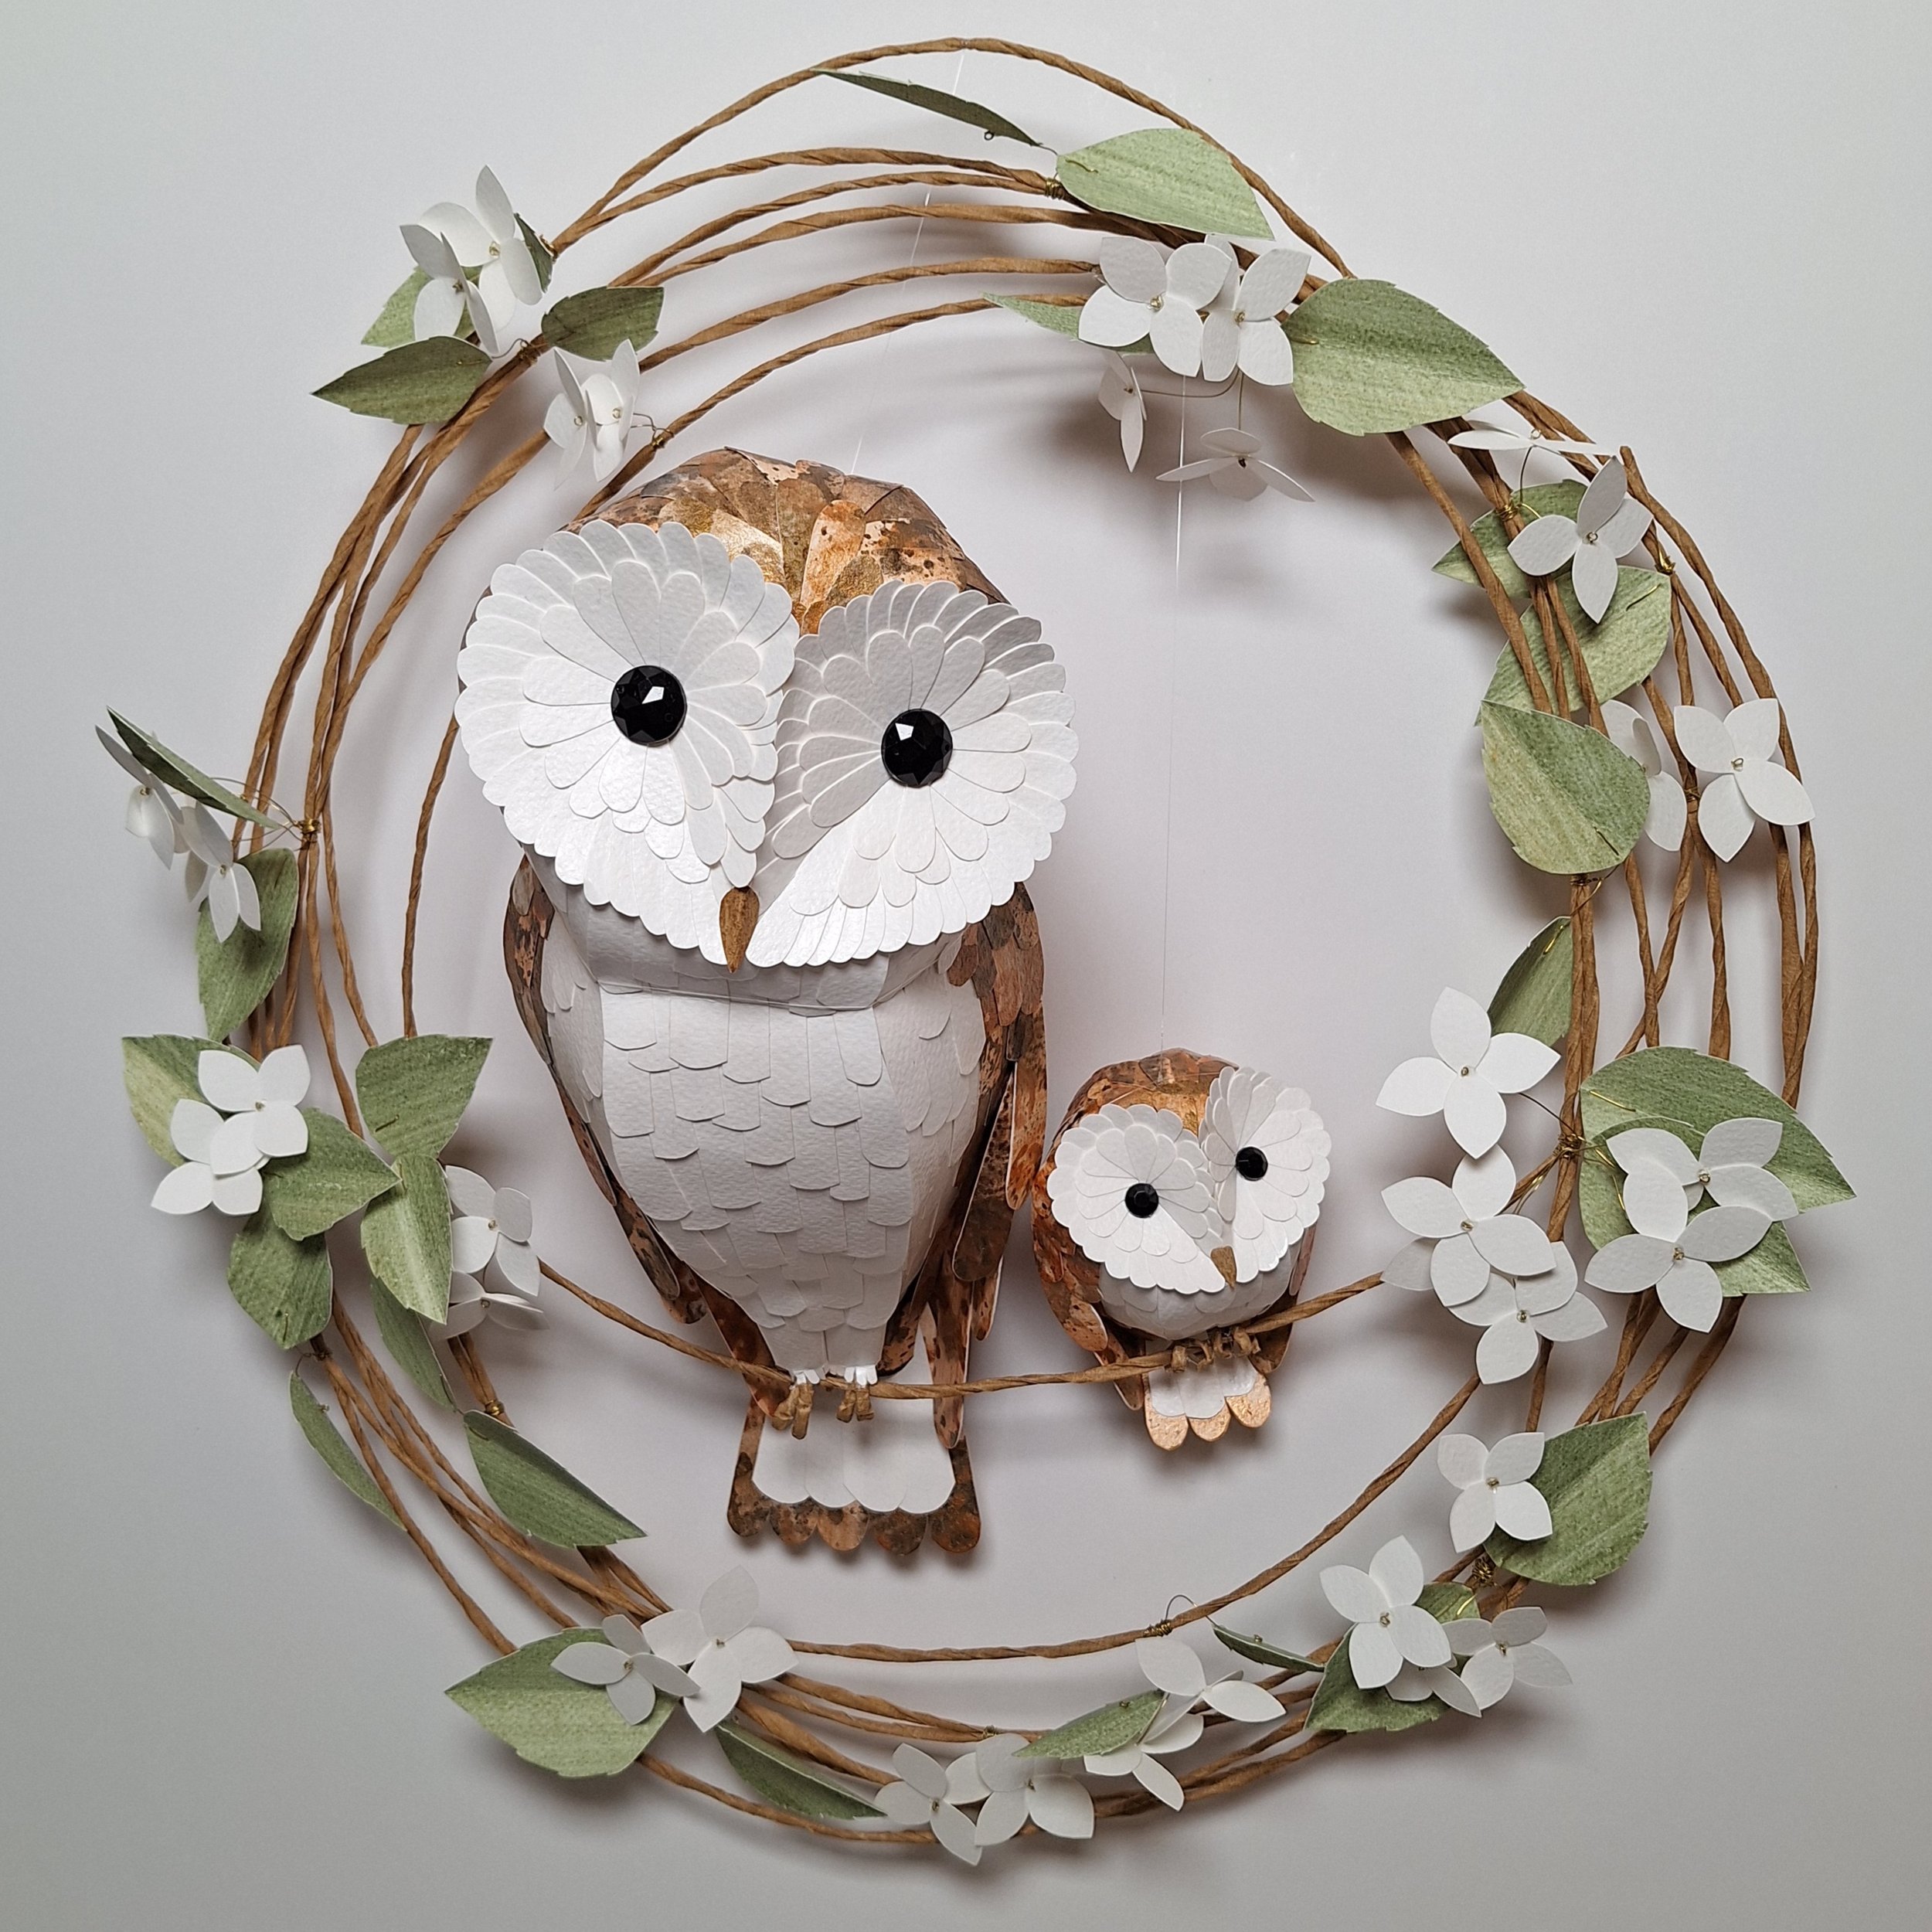
Crafted owl sculpture with a smaller owl on a floral wreath.

Paper owl art with pink flowers on circular twig frame.

Paper craft wreath with a bird and lavender flowers

Paper mache hummingbird with pink flowers on twisted vines against a light background.

lit up with my giant bulbs and slowing the shutter speed

A decorative owl made of layered paper in neutral colors, perched on a branch adorned with pink and green paper flowers, set against a dark background.
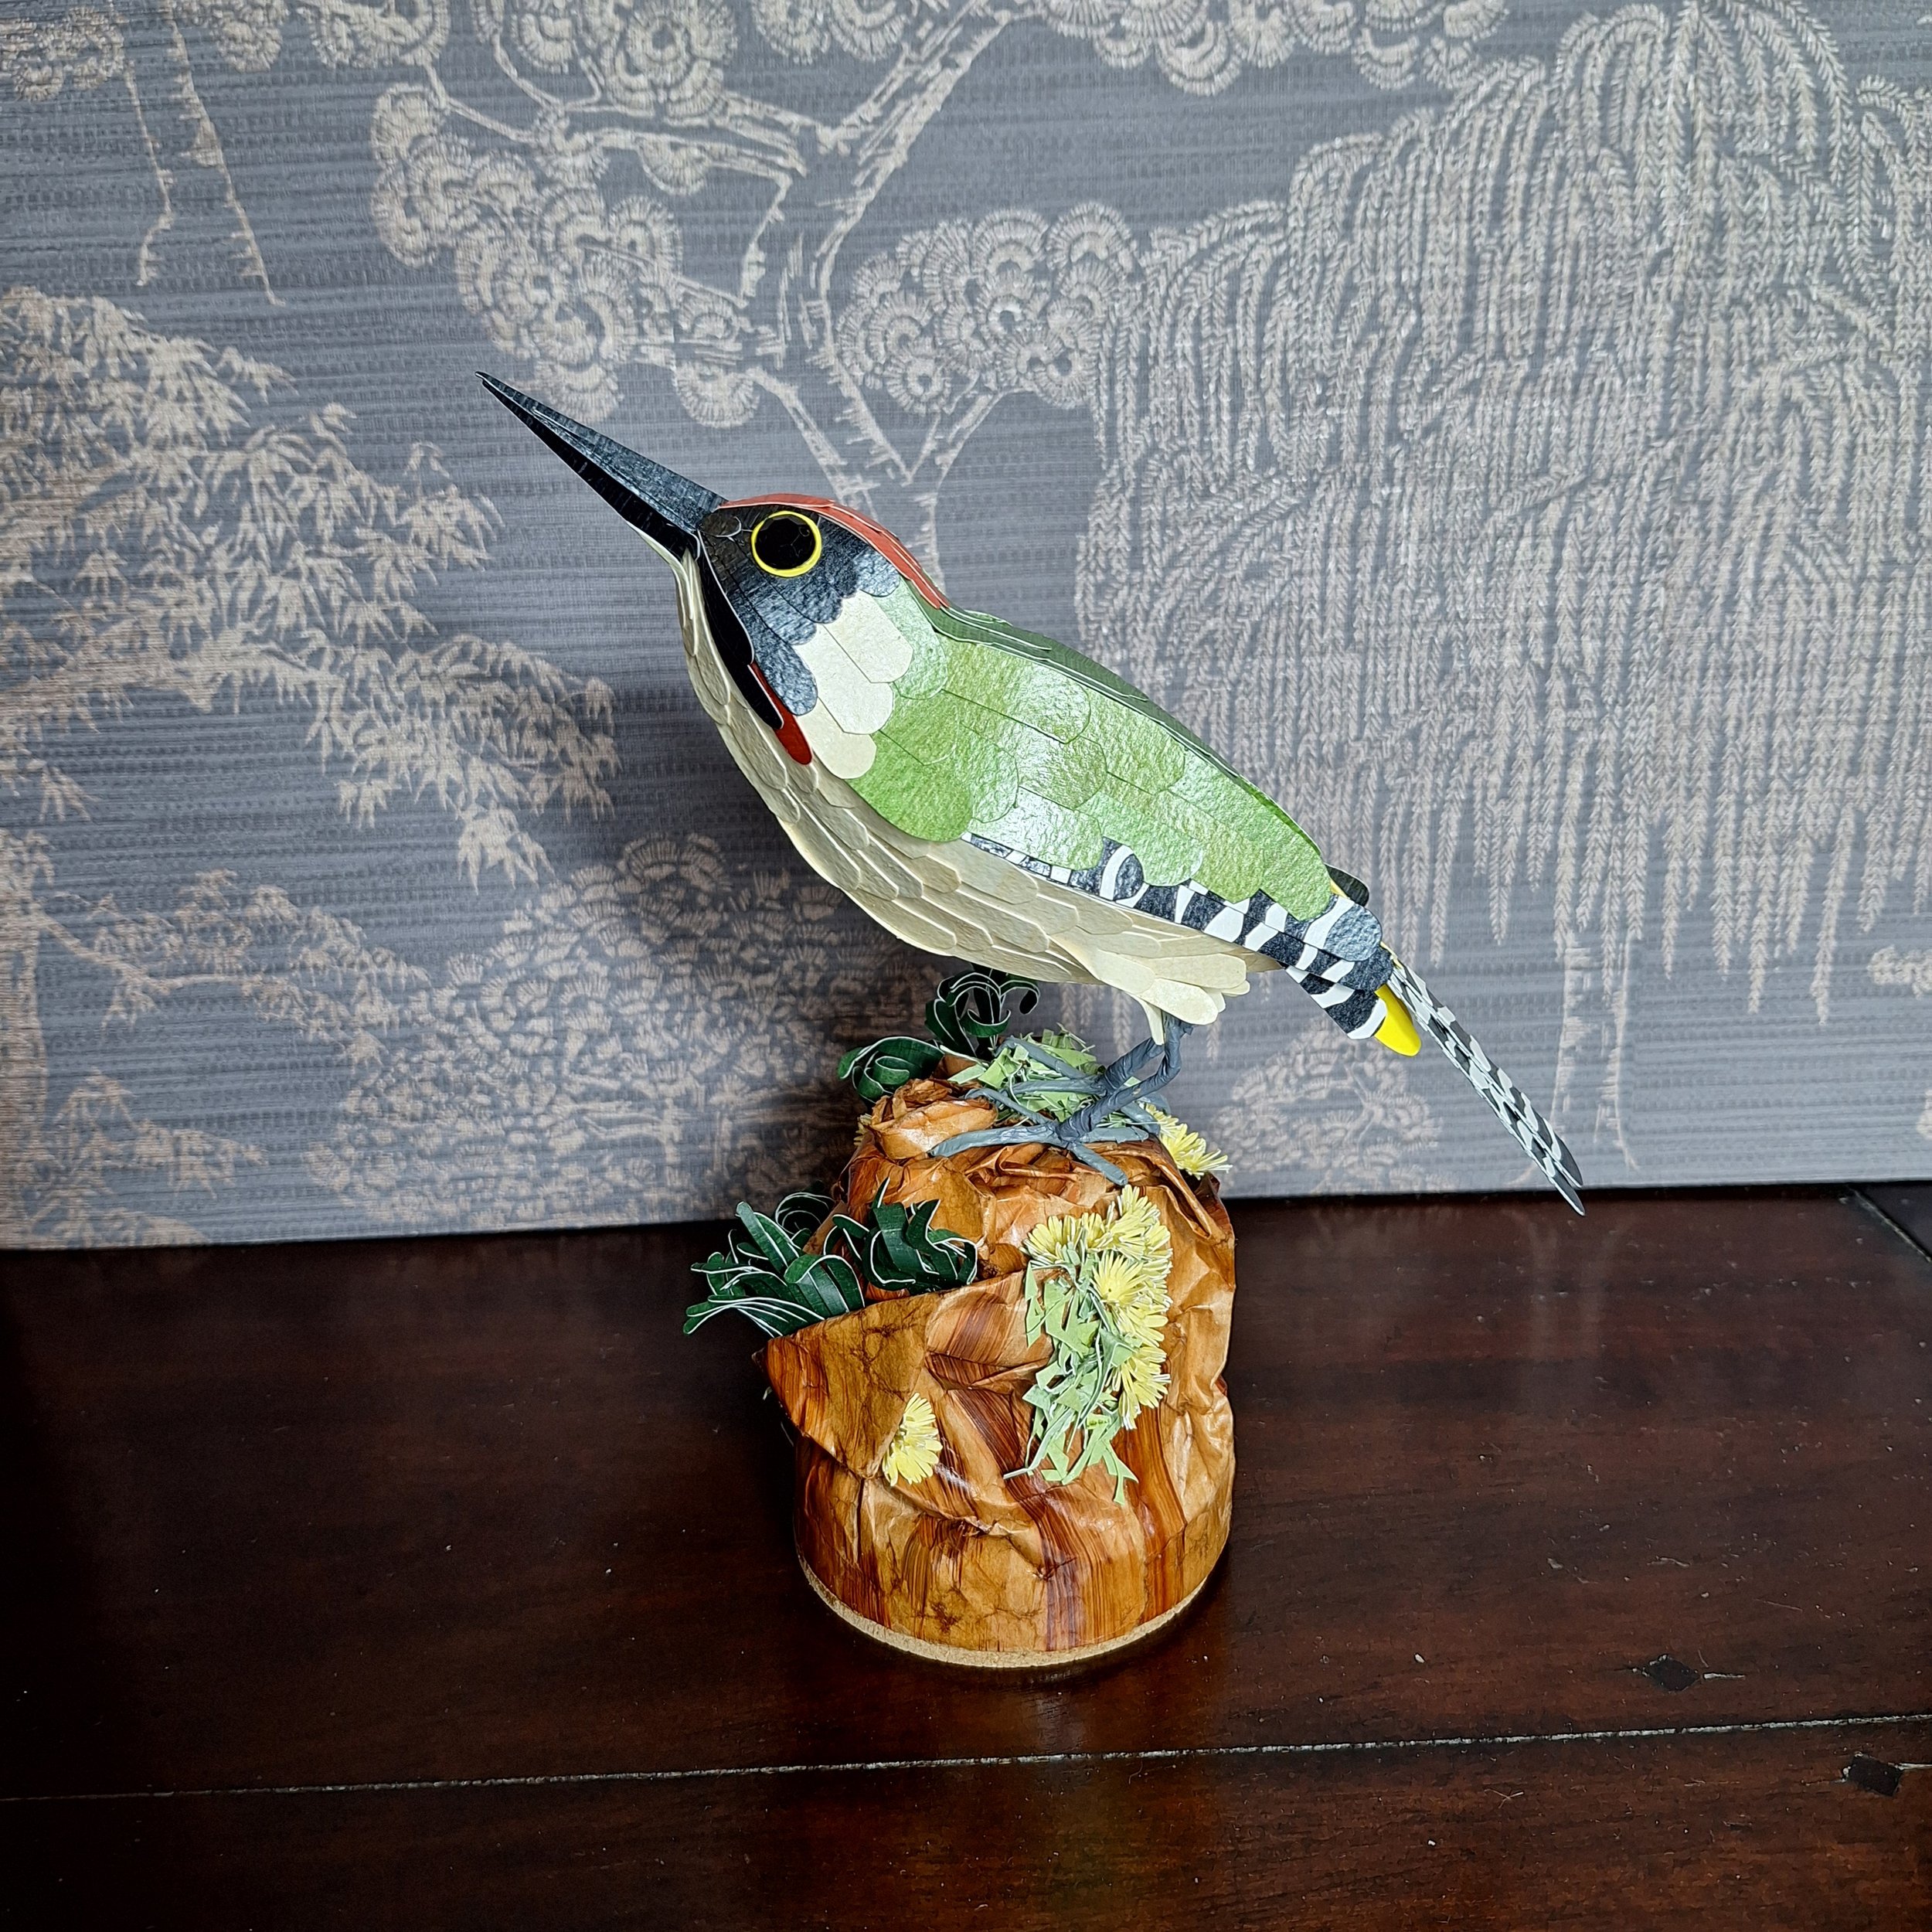
busy backgrounds detract from the piece, but are much less faff to light!
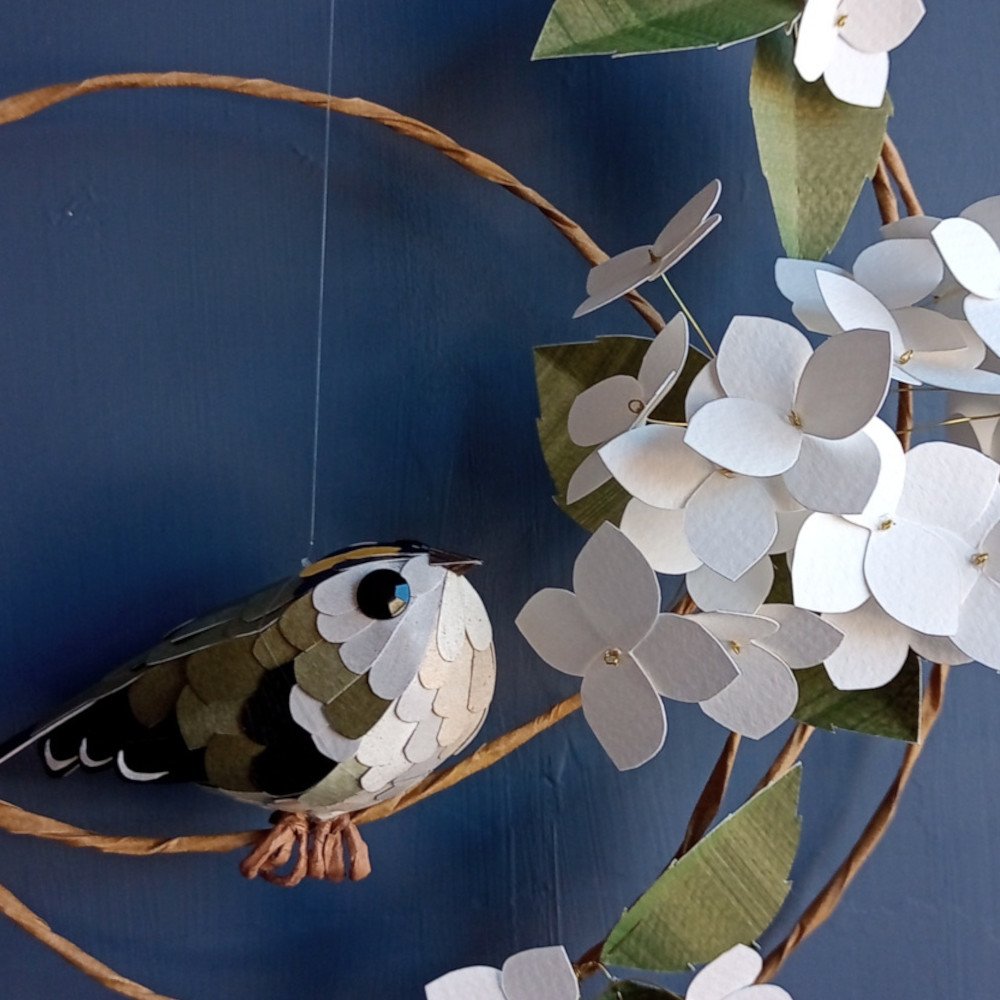
photographing on the sun drenched door of my work room

photographing nearer to golden hour in my sun drenched work room

borrowing my sister's mantlepiece
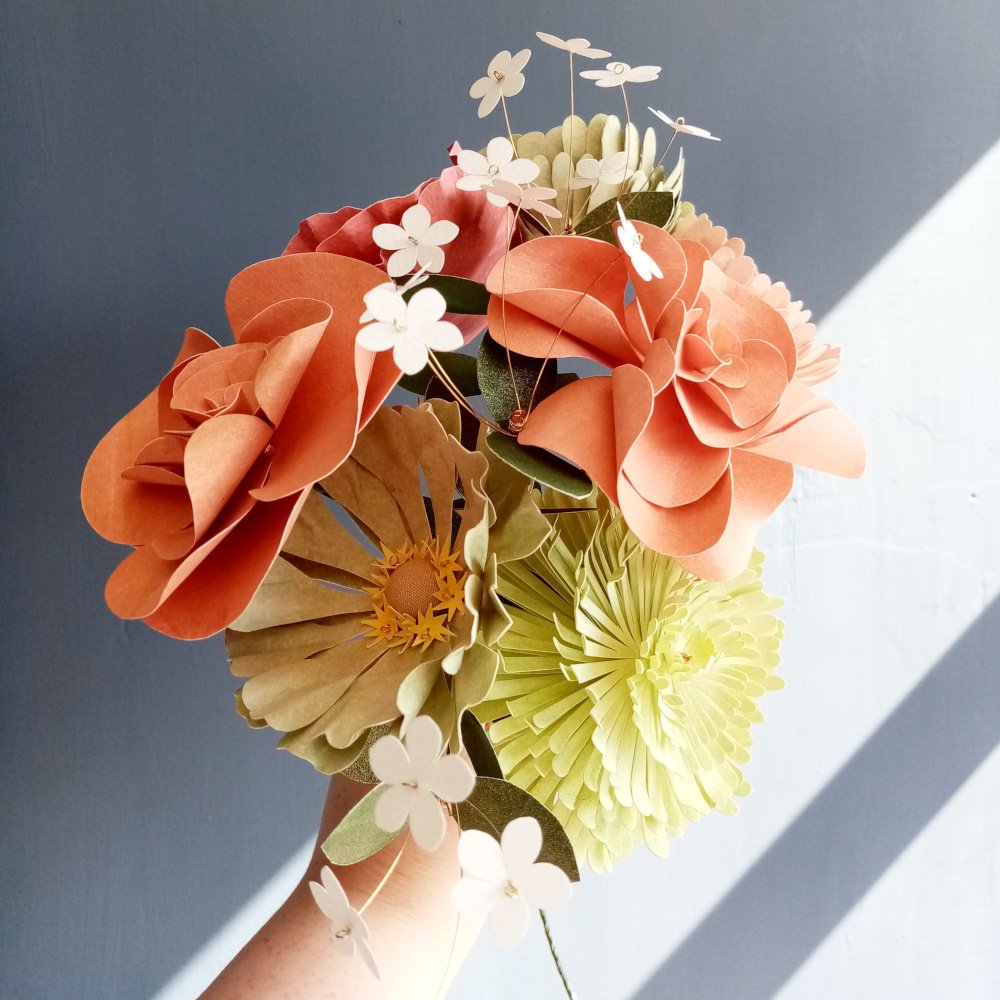
too sunny in the work room

snapping from my chair in my work room
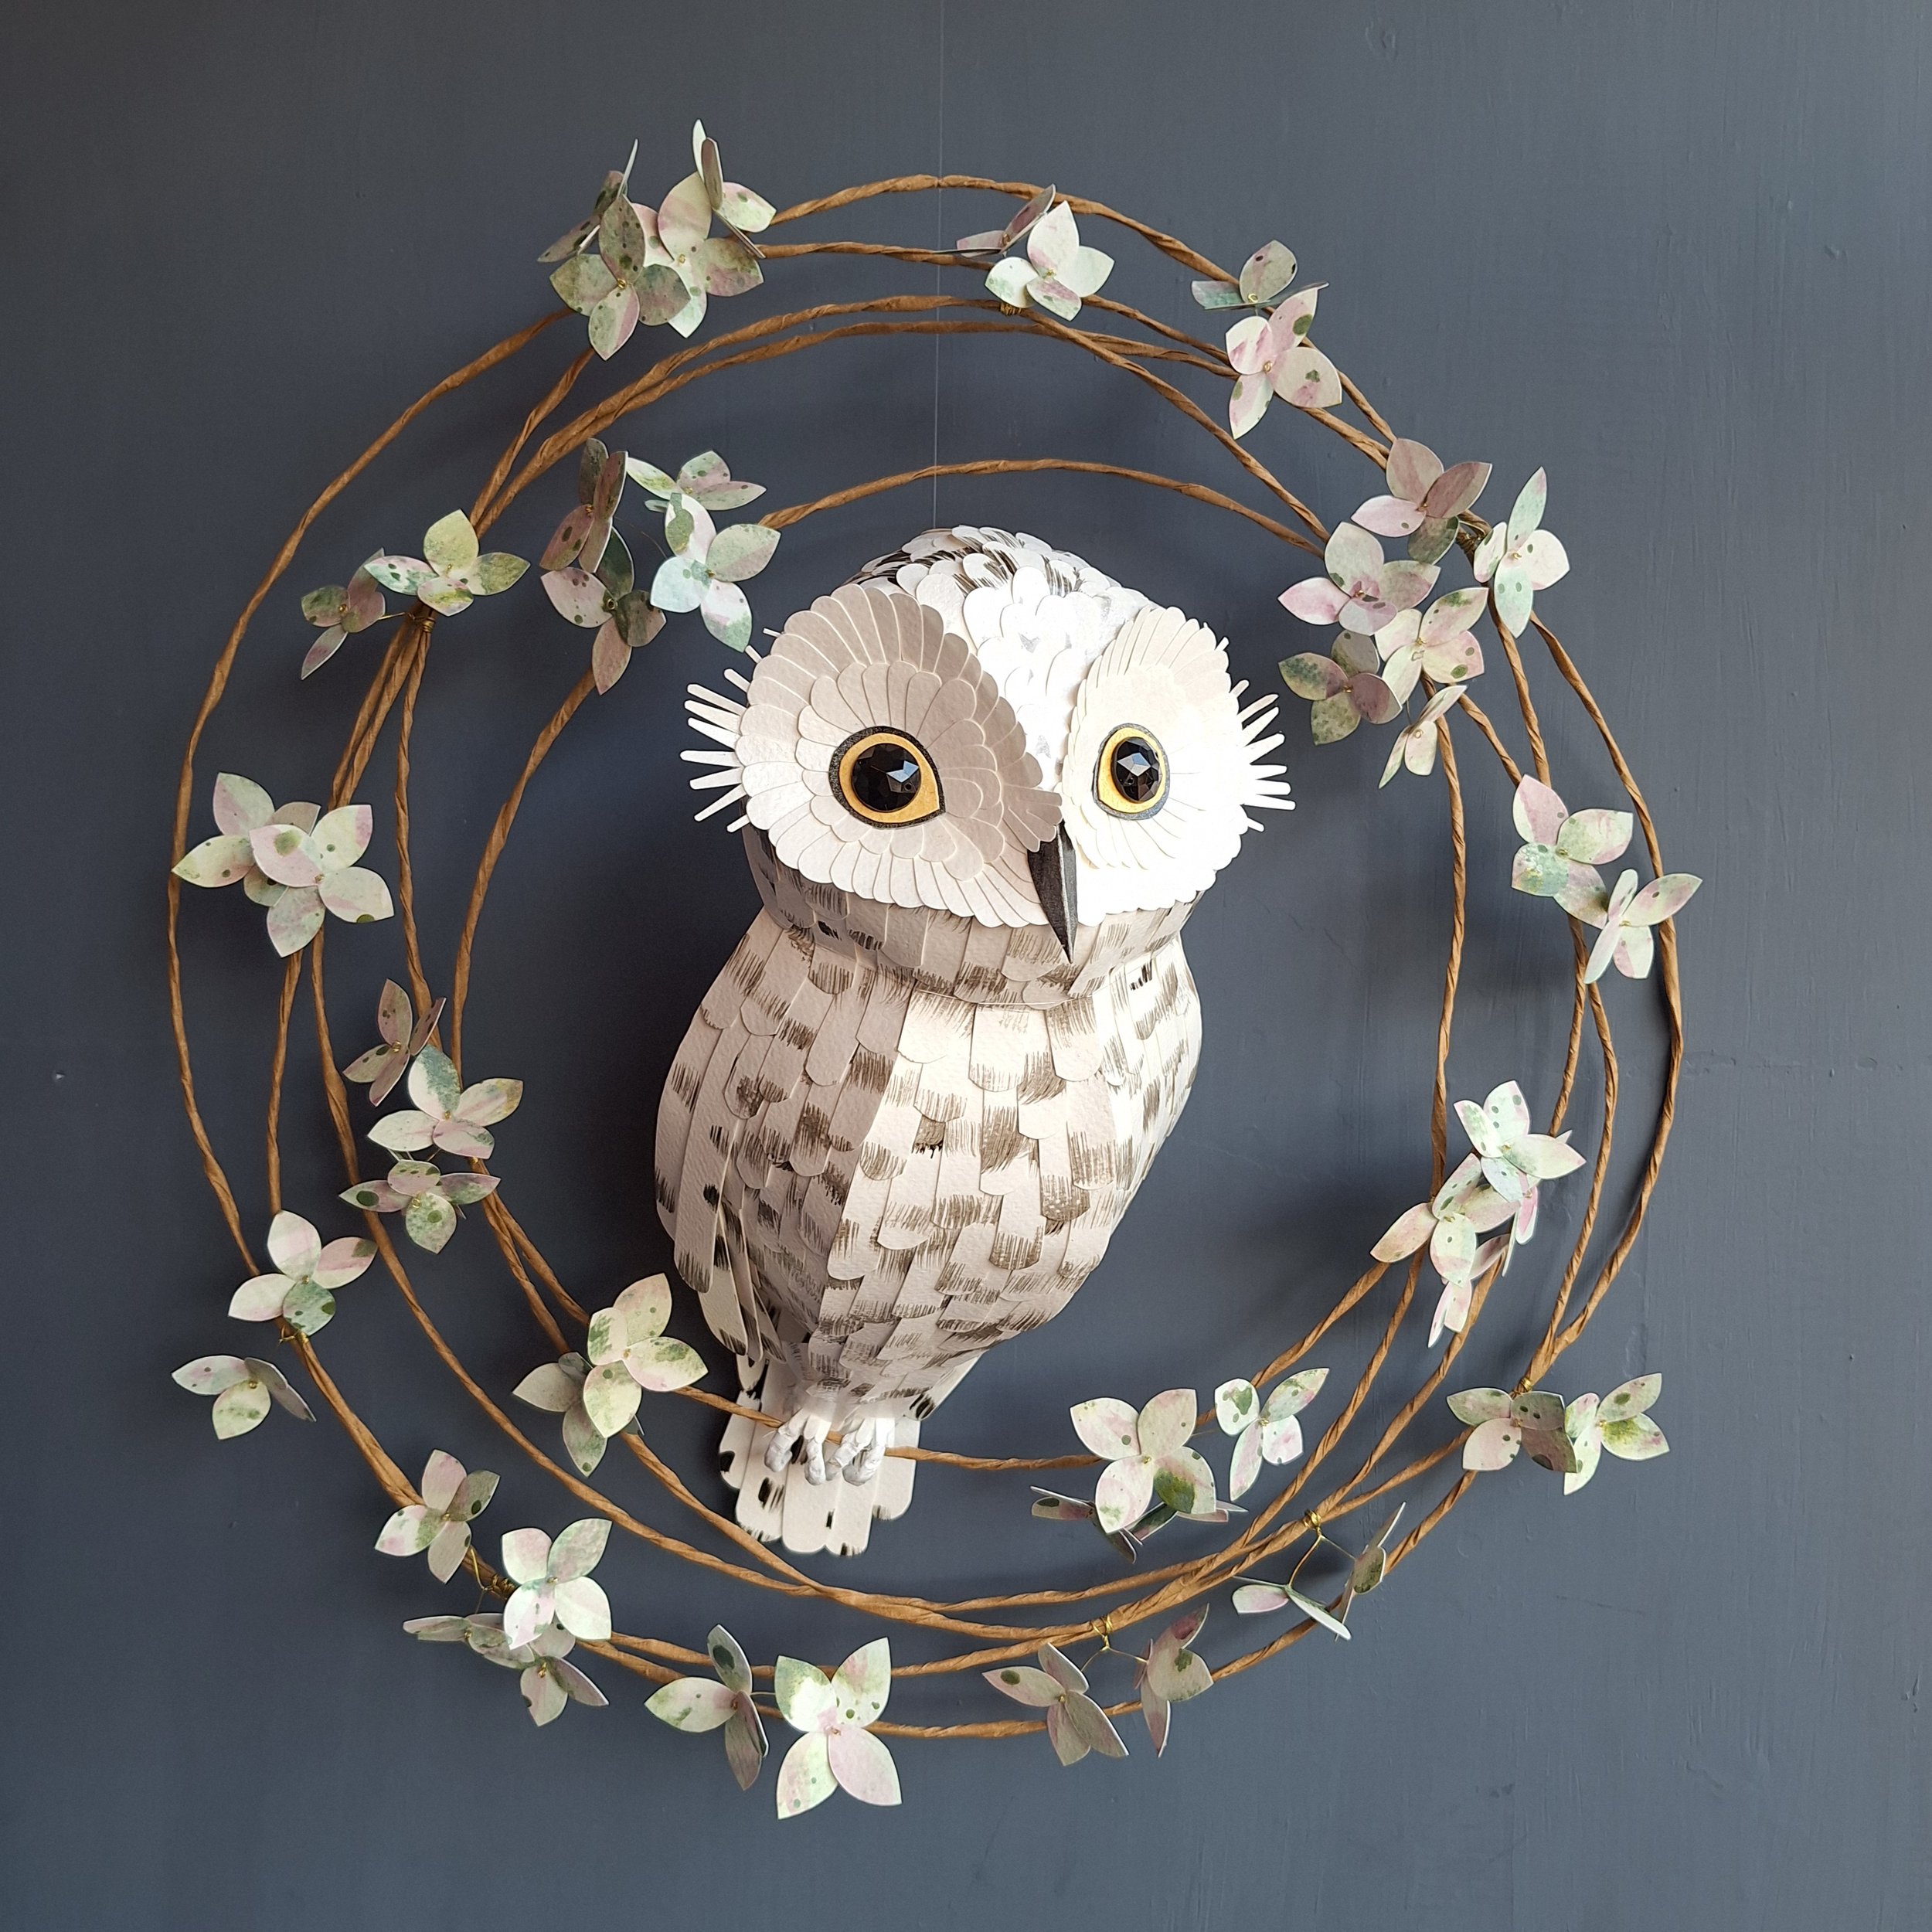
Paper owl sculpture with floral wreath
